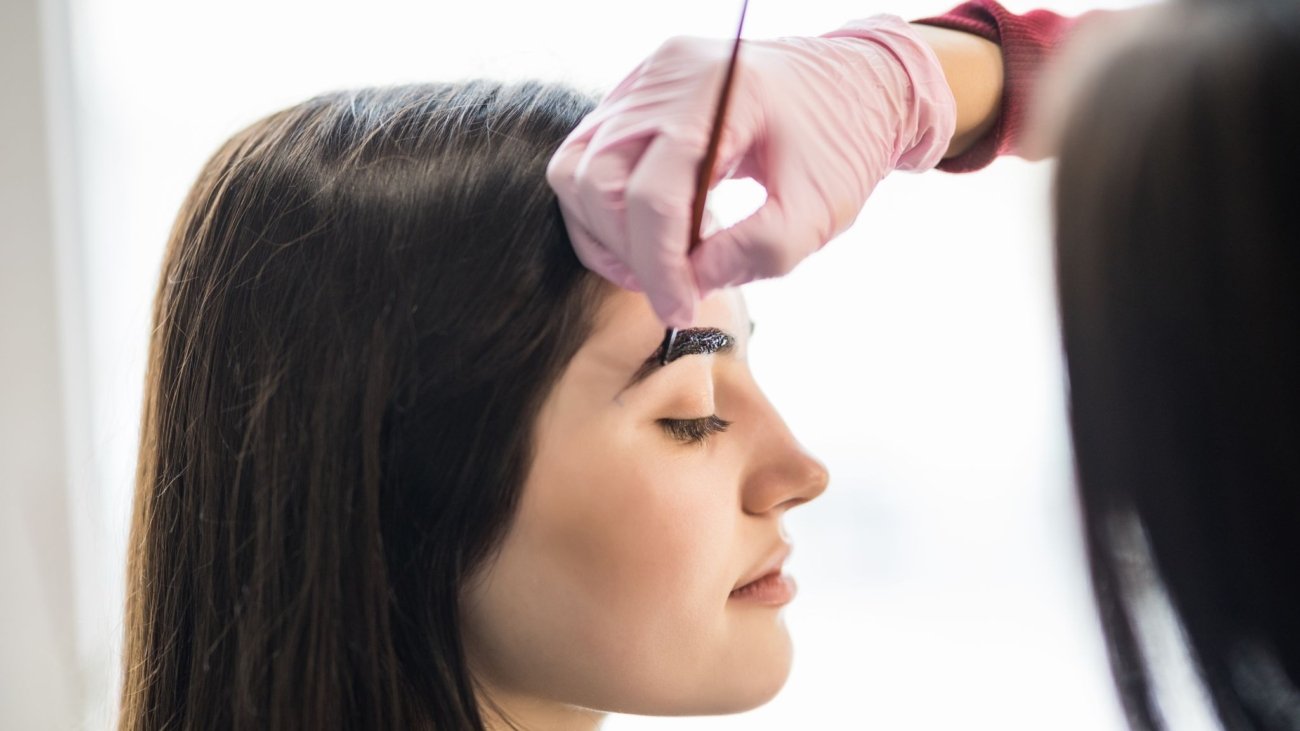
Hybrid Brow Tint – Key treasure
Curved, dark, and lush lashes are always trendy, but not everyone is naturally blessed with long, fluttery ones. One popular way to enhance their look is with a semi-permanent procedure called a lash lift.
What is Lash Lift?
A lash lift is a semi-permanent treatment that enhances your natural lashes for a fuller, lifted and longer look. It uses chemicals to curl your natural lashes, and often includes a tint to darken them. The results of an eyelash lift usually last between 6-8 weeks, which matches the natural lash growth cycle. As your lashes shed naturally, the curl will gradually relax. You can schedule a repeat treatment after this period to maintain the enhanced look.
How long does a Lash Lift treatment last?
A lash lift typically lasts between 45 minutes to 1 hour. If you choose to add a tint, it will require an additional 15 minutes.
Lash Lift Process: Step by Step
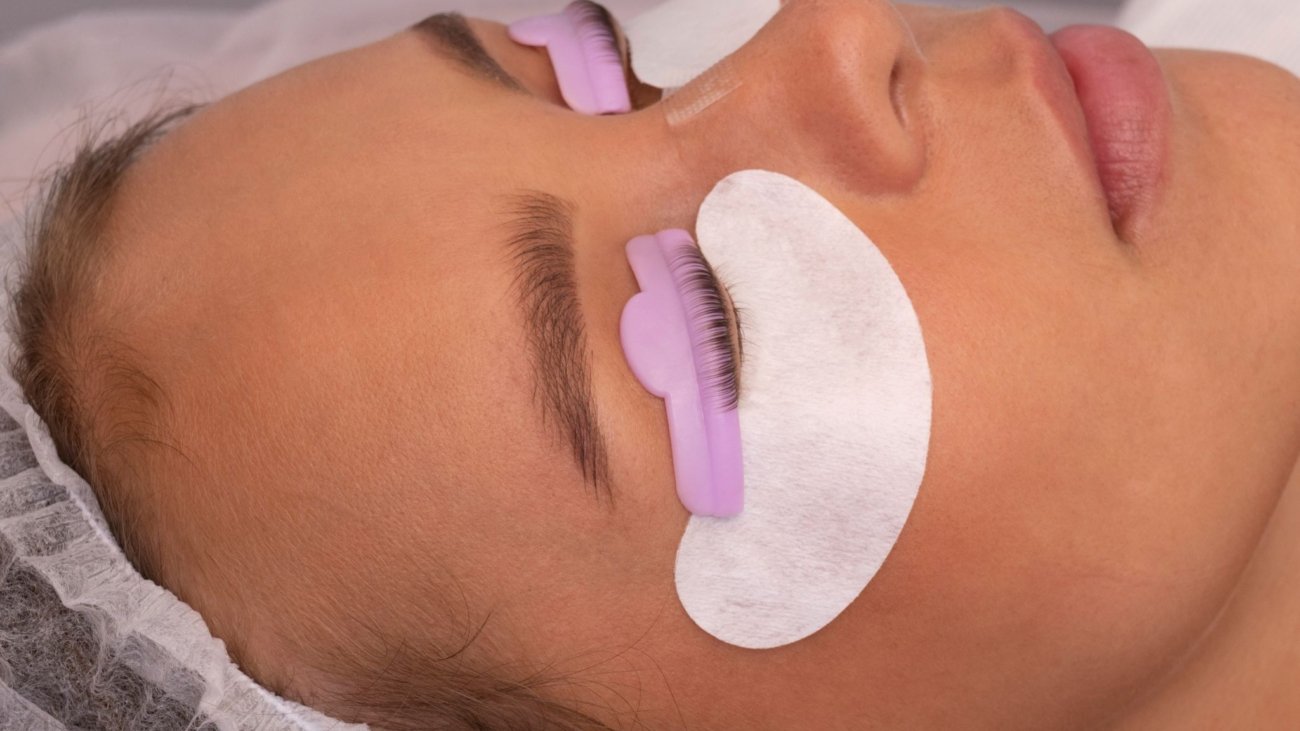
This procedure is straightforward and includes the following steps: Step 1 – Consultation and Cleansing. Before the treatment, consult with the technician to discuss allergies and select the desired curl type. Your eye area will be thoroughly cleaned to remove any makeup and oils that could affect the treatment. Step 2 – Applying Protective Pads. Silicone pads are placed on your lower eyelids for protection. A Curl-shaped pad is placed to your upper eyelids to determine the curl's intensity. Keep your eyes closed throughout this process. Step 3 – Securing Lashes to the shaped pad. Your lashes are gently brushed upwards and glued onto the silicone pad. Step 4 – Applying Perming Solution. The perming solution is applied first to soften and straighten your lashes. The technician carefully brushes the solution onto your lashes and leaves it on for approximately 10-14 minutes. Step 5 – Setting the Curl. Once the perming solution is removed, a neutralizing solution is applied to set your lashes into the desired shape. This solution is also brushed onto your lashes and left on for about 10-12 minutes. Step 6 – Removing Chemicals and Pads. After the neutralizing solution is cleaned off, the silicone pads are gently removed. If you opt for tinting as well, the following steps are included: Step 7 – Tinting (Optional) A tint of your choice(grey, black, blue-black) is applied and left on for up to 10 minutes. The area is then cleaned, allowing you to open your eyes. Some salons may offer a nourishing treatment called lash lamination as an additional option.
What is Lash Botox?
It is a type of lash lamination, where the nourishing step is enriched with a wide variety of vitamins, proteins and microelements. Working as a filler inside your lashes it promotes lash strength and health, while nourishing & hydrating it. Your lashes look visibly thicker, fuller and more healthy than before.
Is Lash Lift painful?
No, an eyelash lift is a completely painless procedure. The only discomfort you may experience is lying still with your eyes closed for up to an hour.
Lash Lift Aftercare
After your lash treatment, avoid getting your lashes wet or wearing eye makeup, for the first 8 hours. Mostly we would refer it to Lash Lamination or Lash Botox treatments as we need time for nourishing step to work its magic.
When can I do my next lash lift?
Within some time your natural lashes will gradually return to their original shape and colour as they grow. You can repeat the treatment after 1,5-2 months when 80% of your lashes are renewed.
Are Lash Lifts Safe?
Lash lifts are generally safe, but there are possible side effects to consider:
- Allergies: Some individuals may experience redness and blistering.It is very rare but if you are prone to any allergies it's recommended to do a patch test beforehand.
- Skin irritations: The delicate eyelid skin can be sensitive to the chemicals used.
- Damage to lash hairs: Prolonged exposure to chemicals may cause lashes to become brittle or damaged.
- Corneal damage: Harsh chemicals could potentially harm the cornea if they come into contact with the eyes. Keep your eyes closed throughout the procedure to avoid this risk.
At Candy eyes Beauty studio we offer a great variety to enhance your natural lashes: from traditional Lash Lift to Lash Botox and Sky- High Lashes everything to enjoy the beauty of your natural lashes!